View from Lake Taharoa - existing

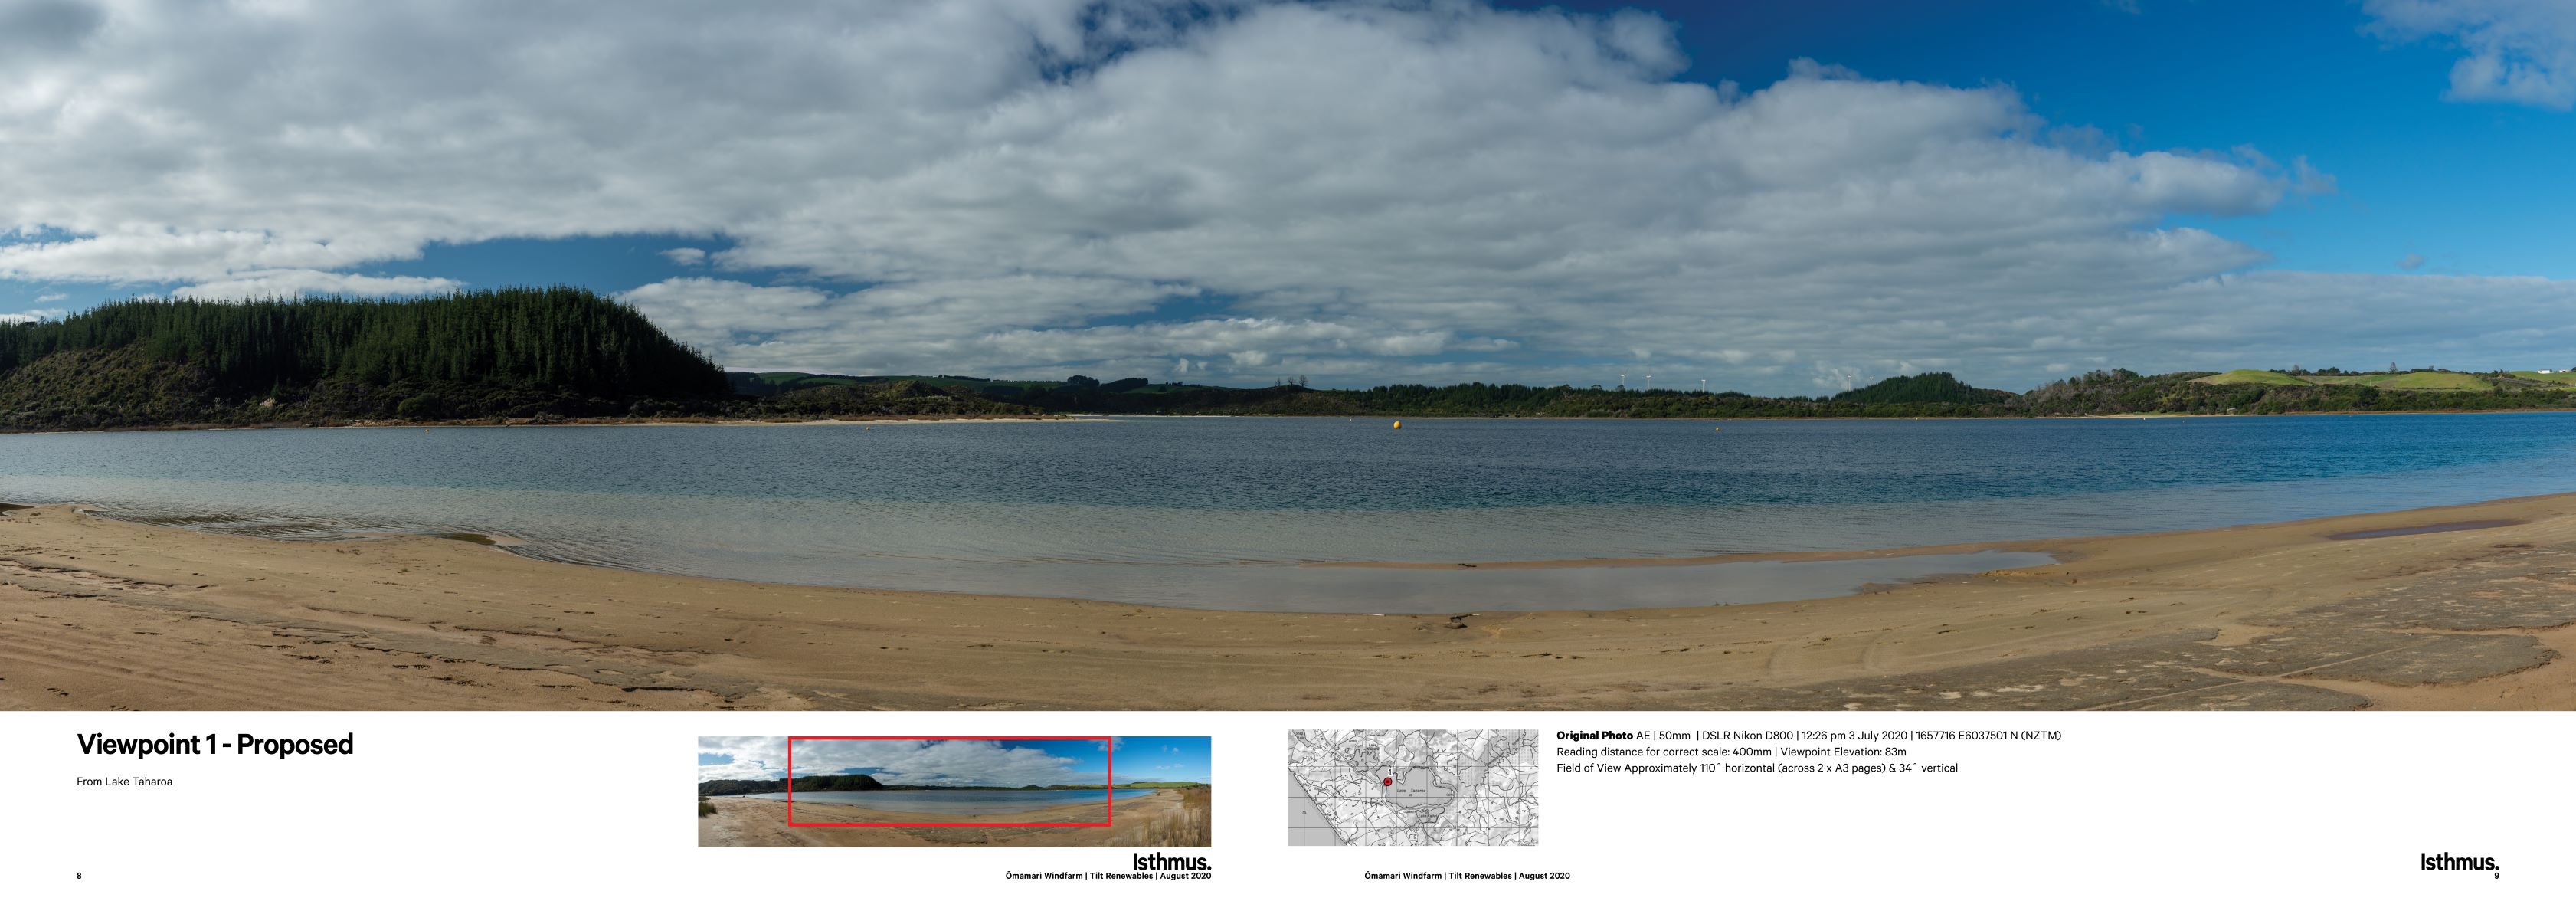
View from Lake Taharoa - proposed
The following photo simulations provide a visual of what the Omamari Wind Farm could look like.
View from Lake Taharoa - existing
View from Lake Taharoa - proposed
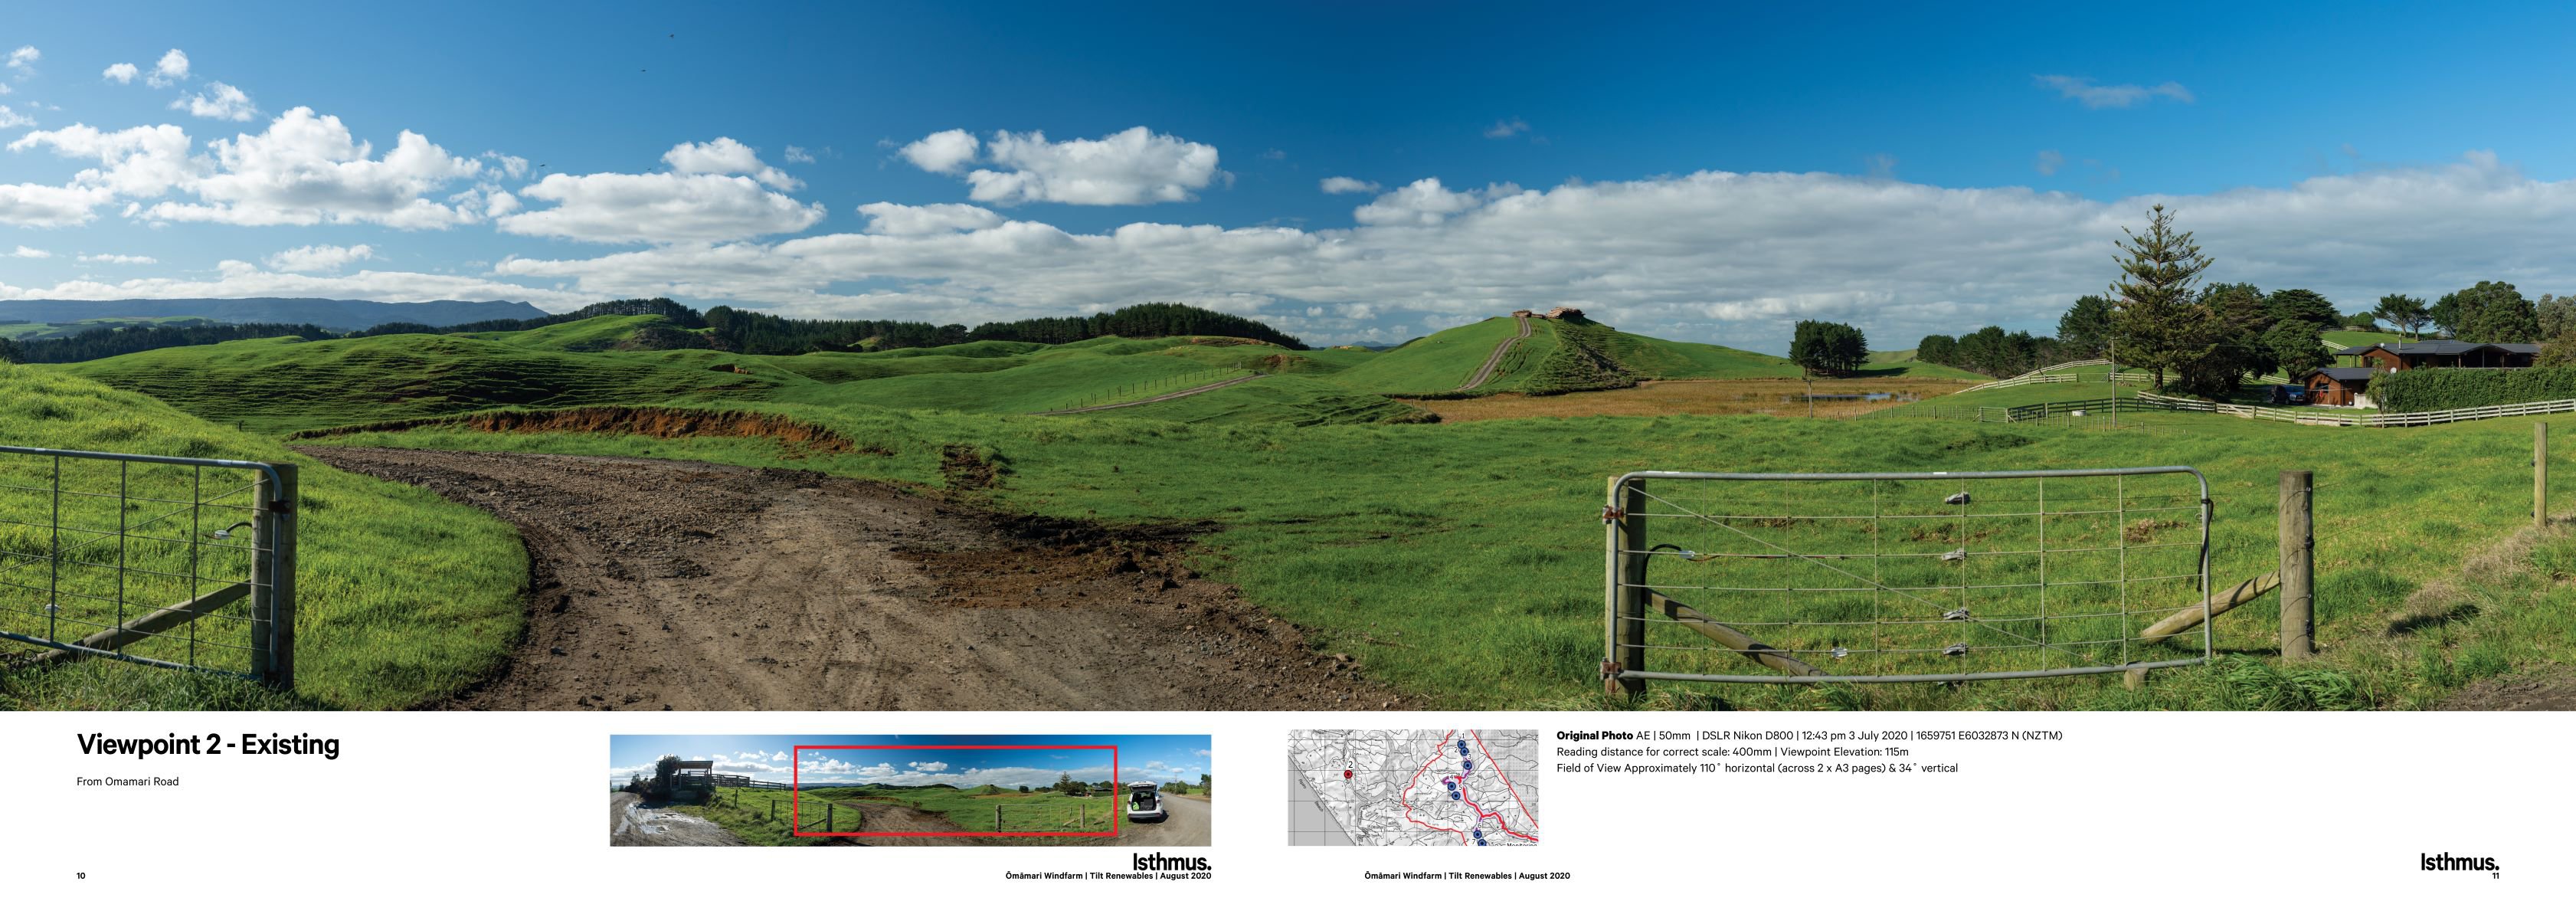
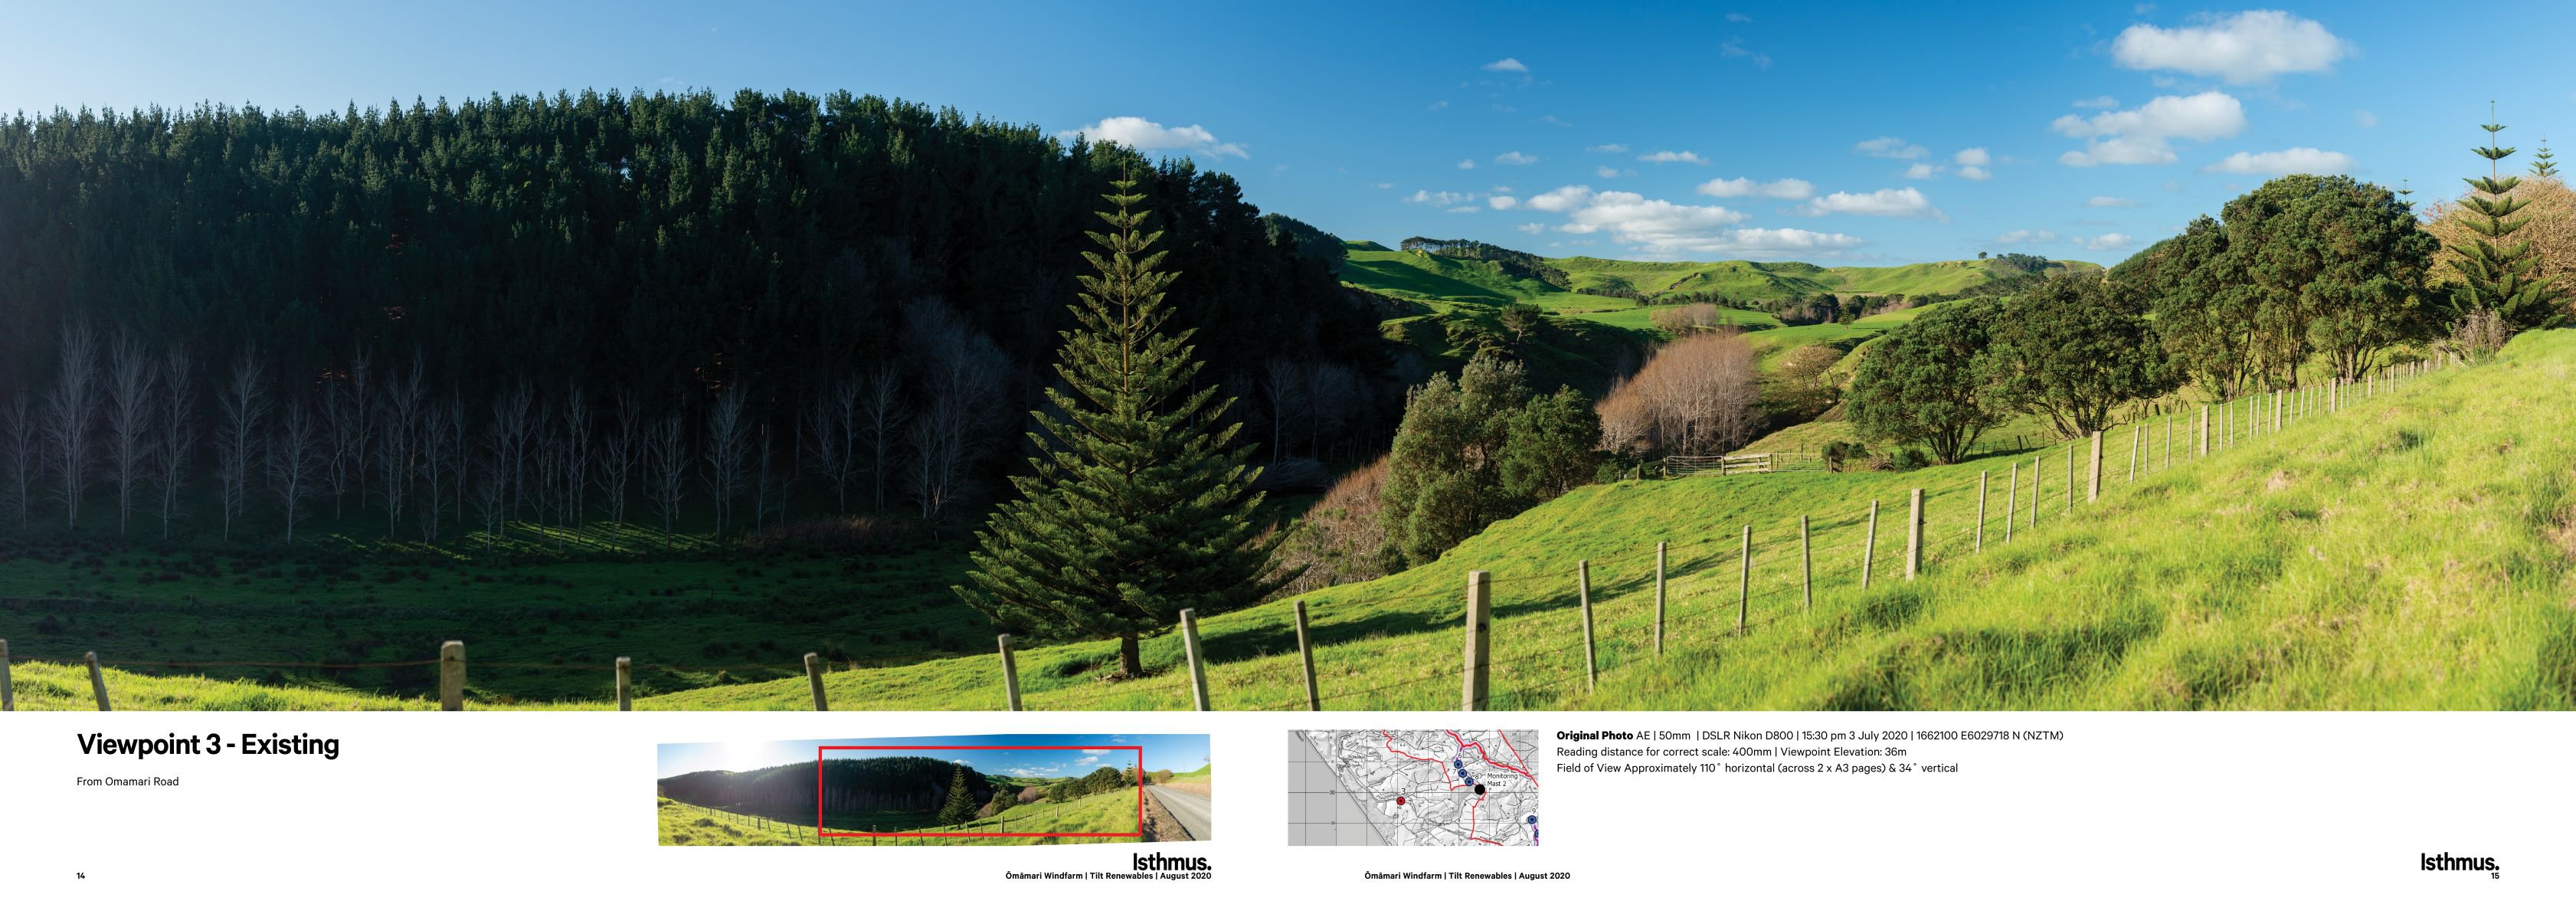
View from Omamari Road - existing
View from Omamari Road - proposed

View from Omamari Road - existing
View from Omamari Road - proposed

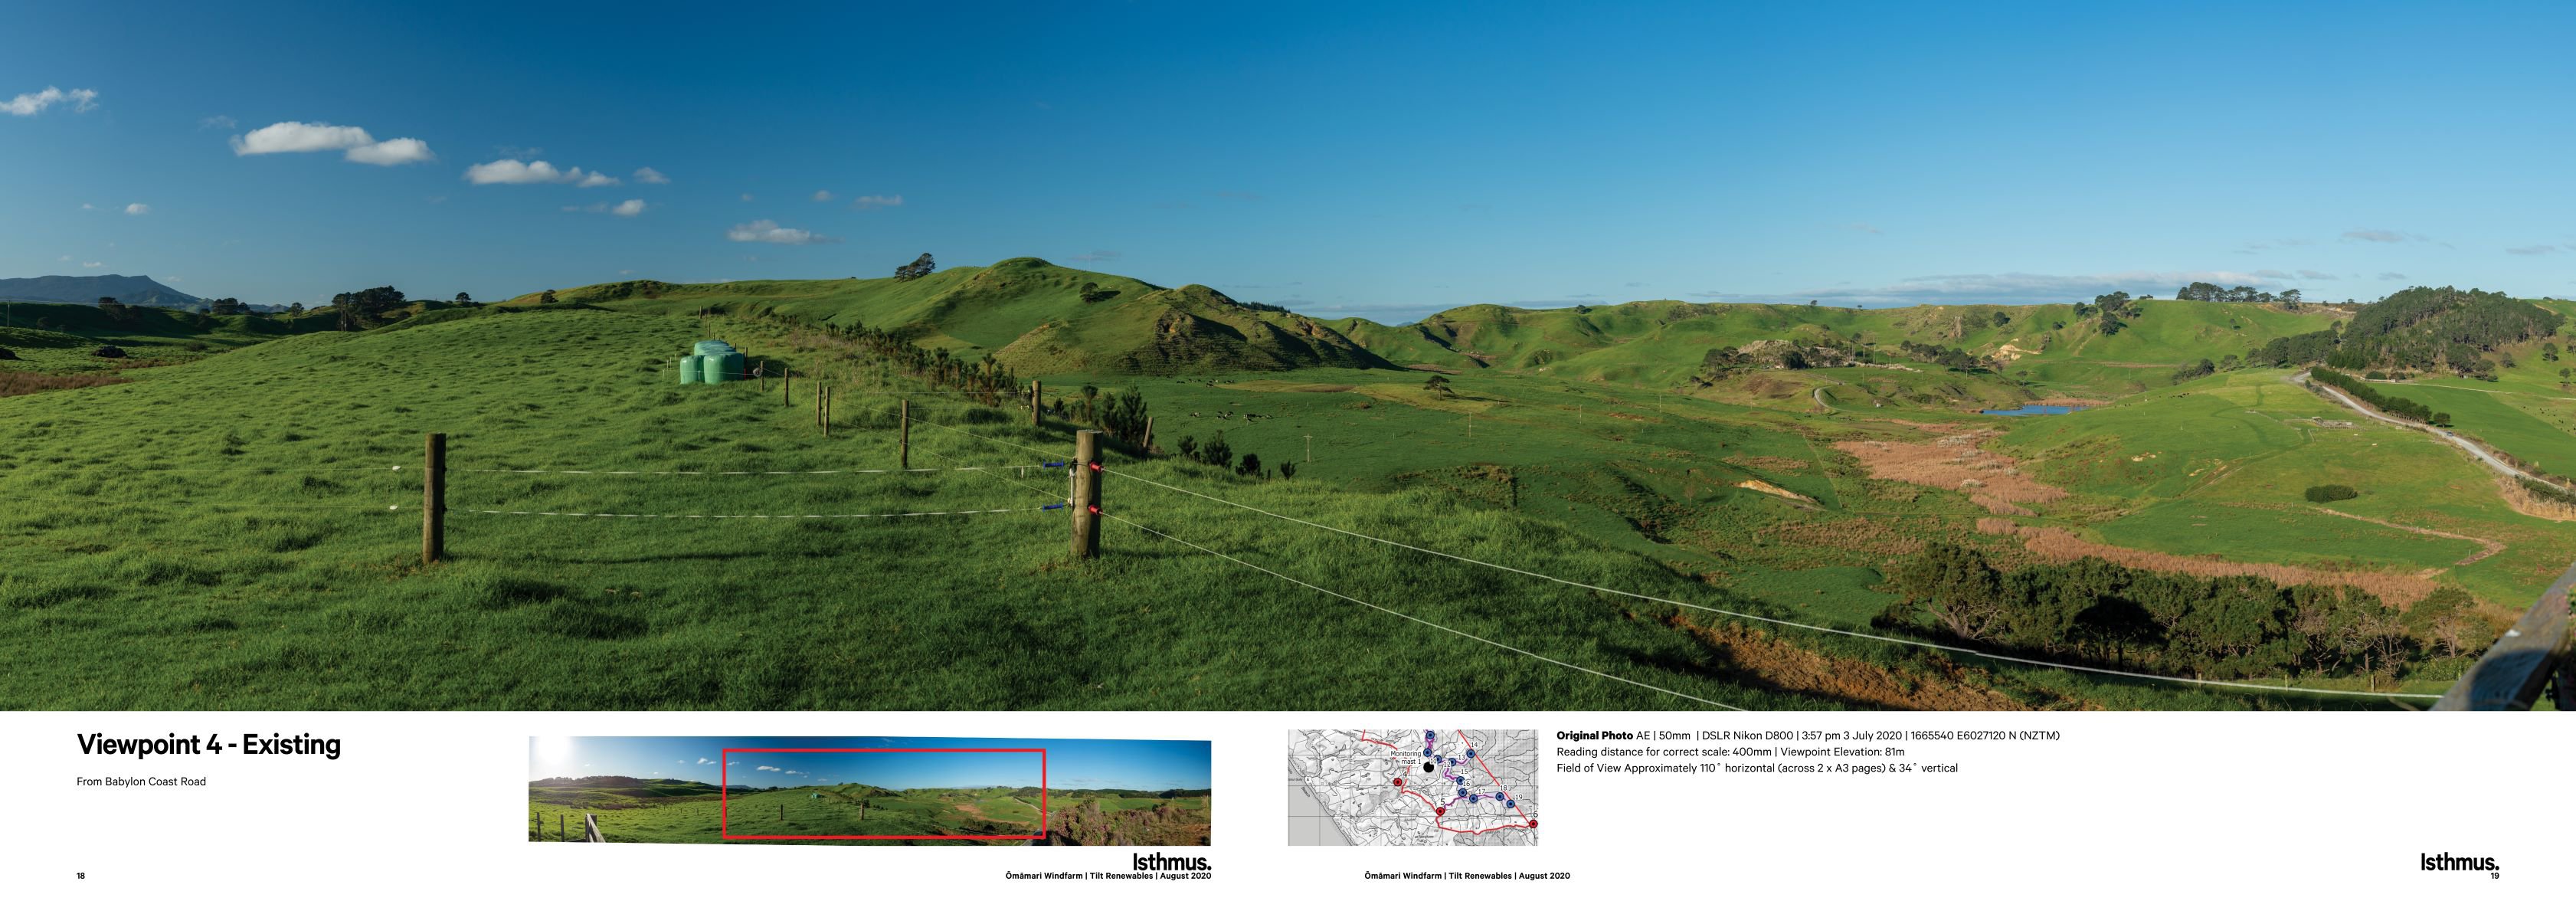
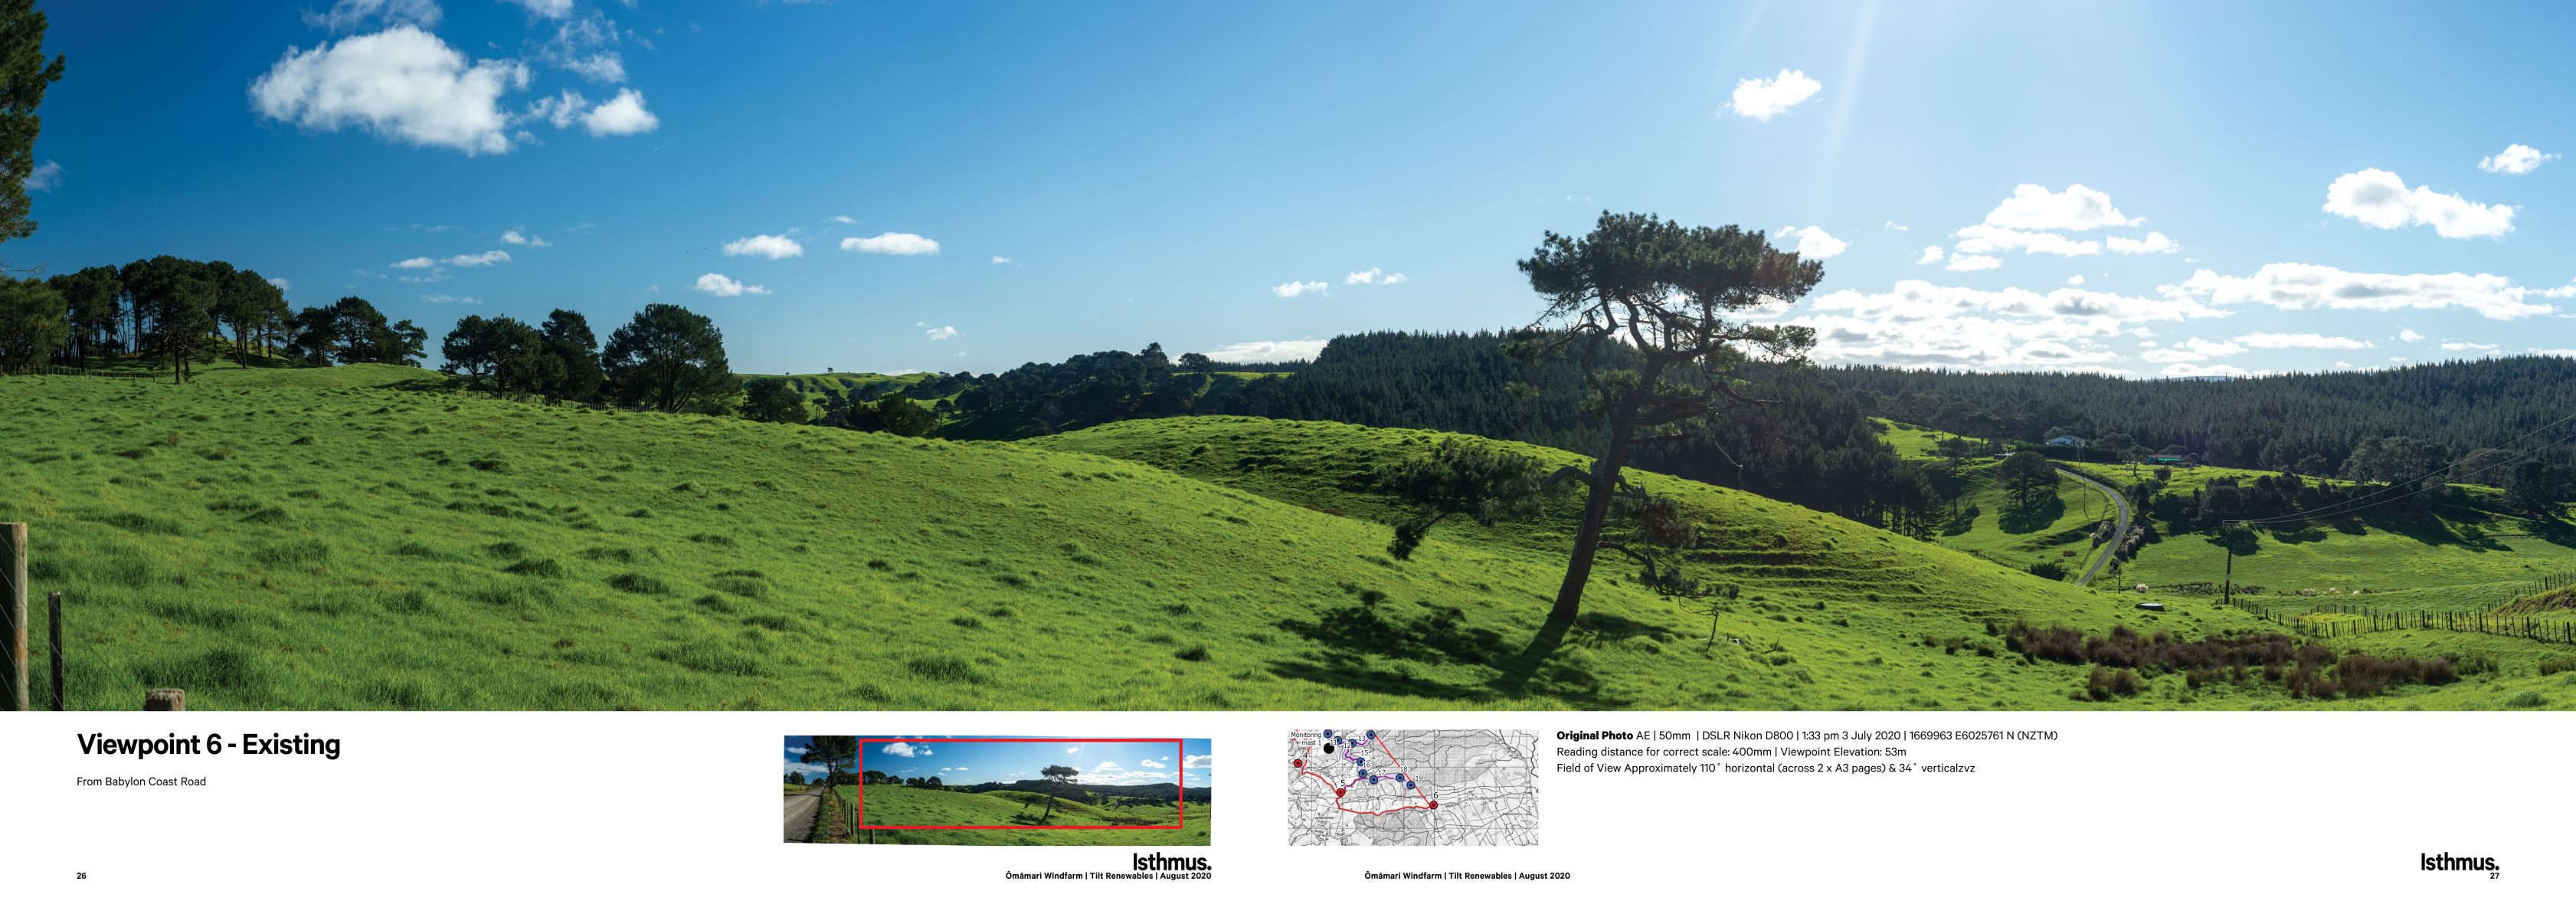
View from Babylon Coast Road - existing
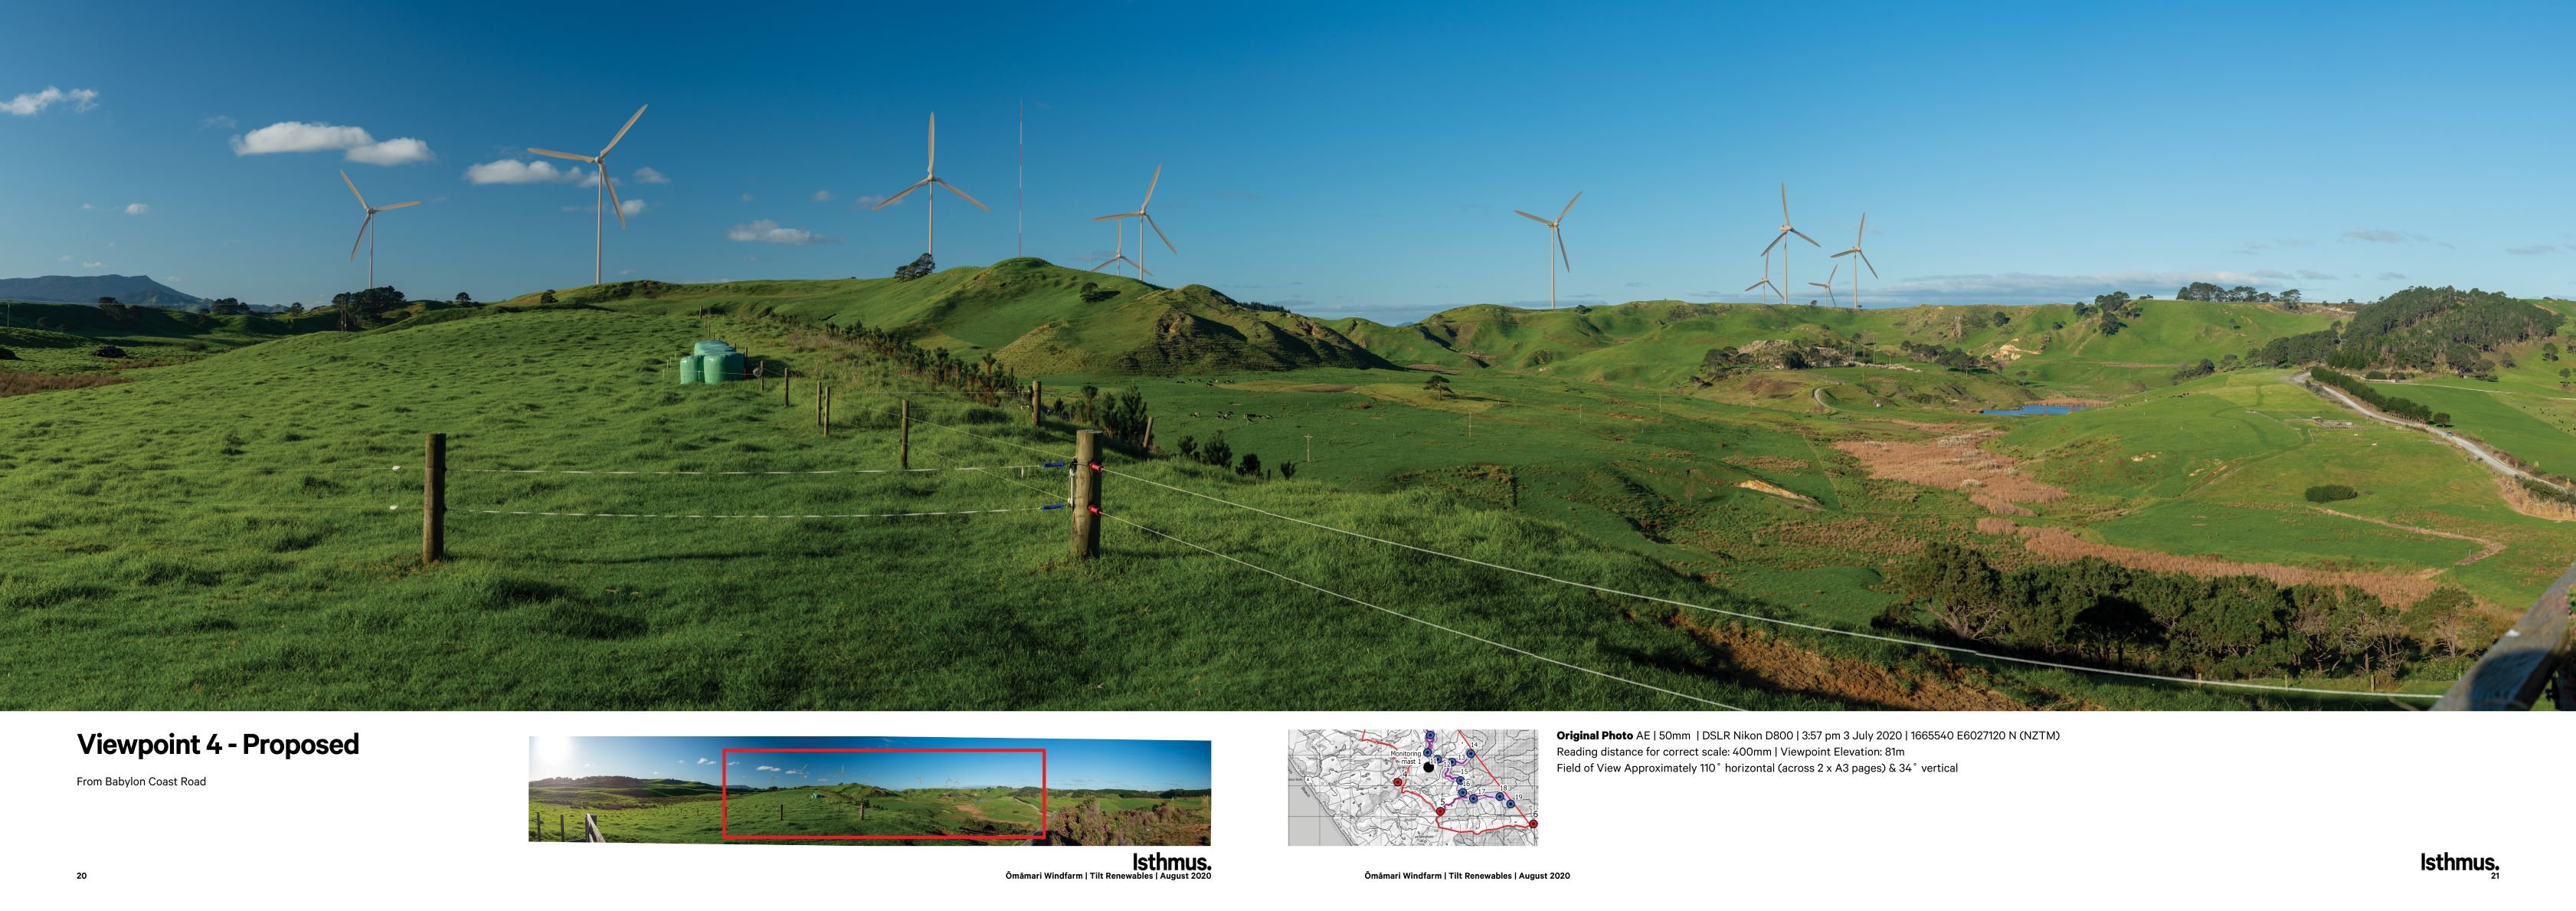
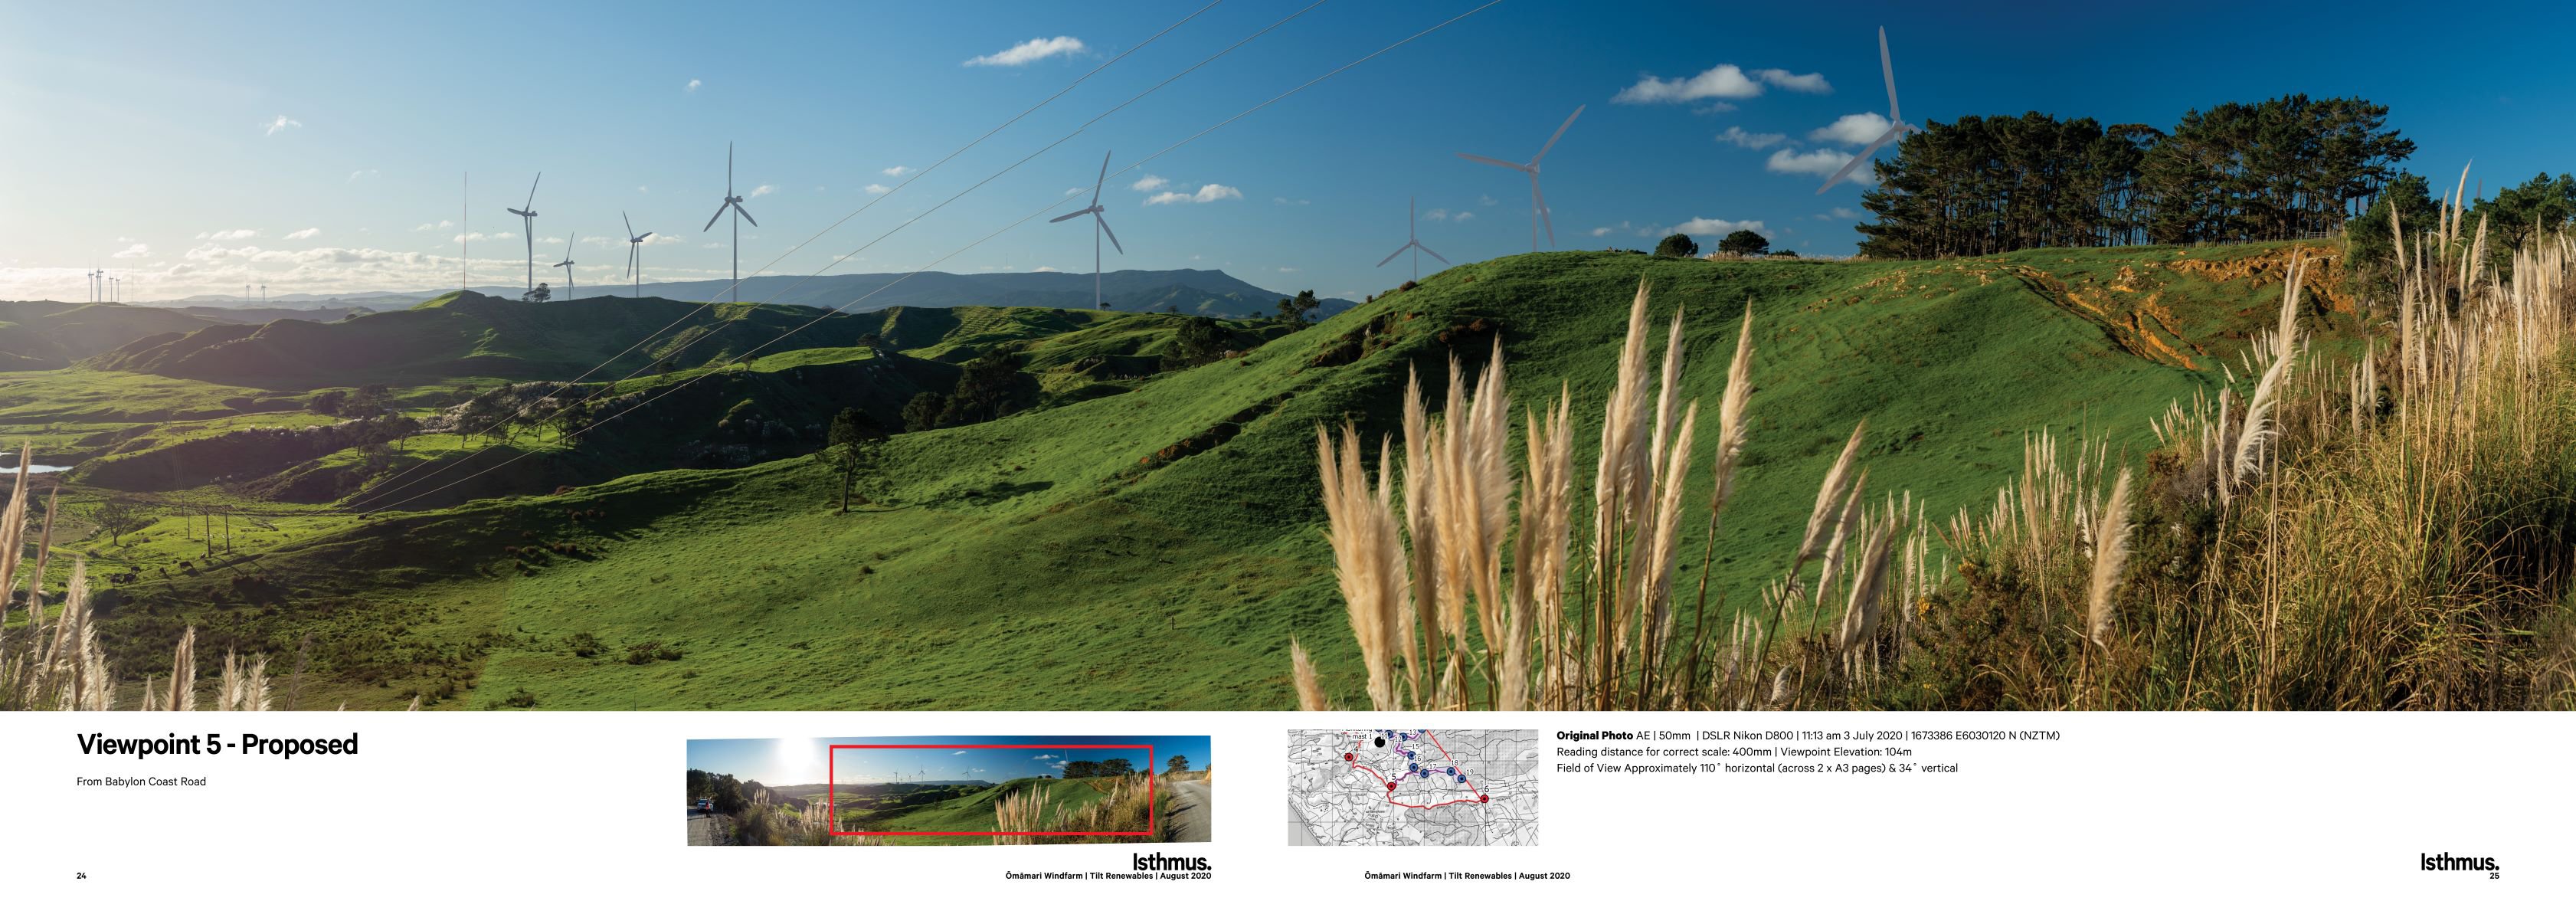
View from Babylon Coast Road - proposed
(NB: the met mast in this image will be installed at construction and is modelled to be 140m tall, it is not the current 70m met mast that can be seen on site)
View from Babylon Coast Road - existing

View from Babylon Coast Road - proposed
(NB: the met mast in this image will be installed at construction and is modelled to be 140m tall, it is not the current 70m met mast that can be seen on site)
View from Babylon Coast Road - existing
View from Babylon Coast Road - proposed

View from Maitahi Stream - existing

View from Maitahi Stream - proposed

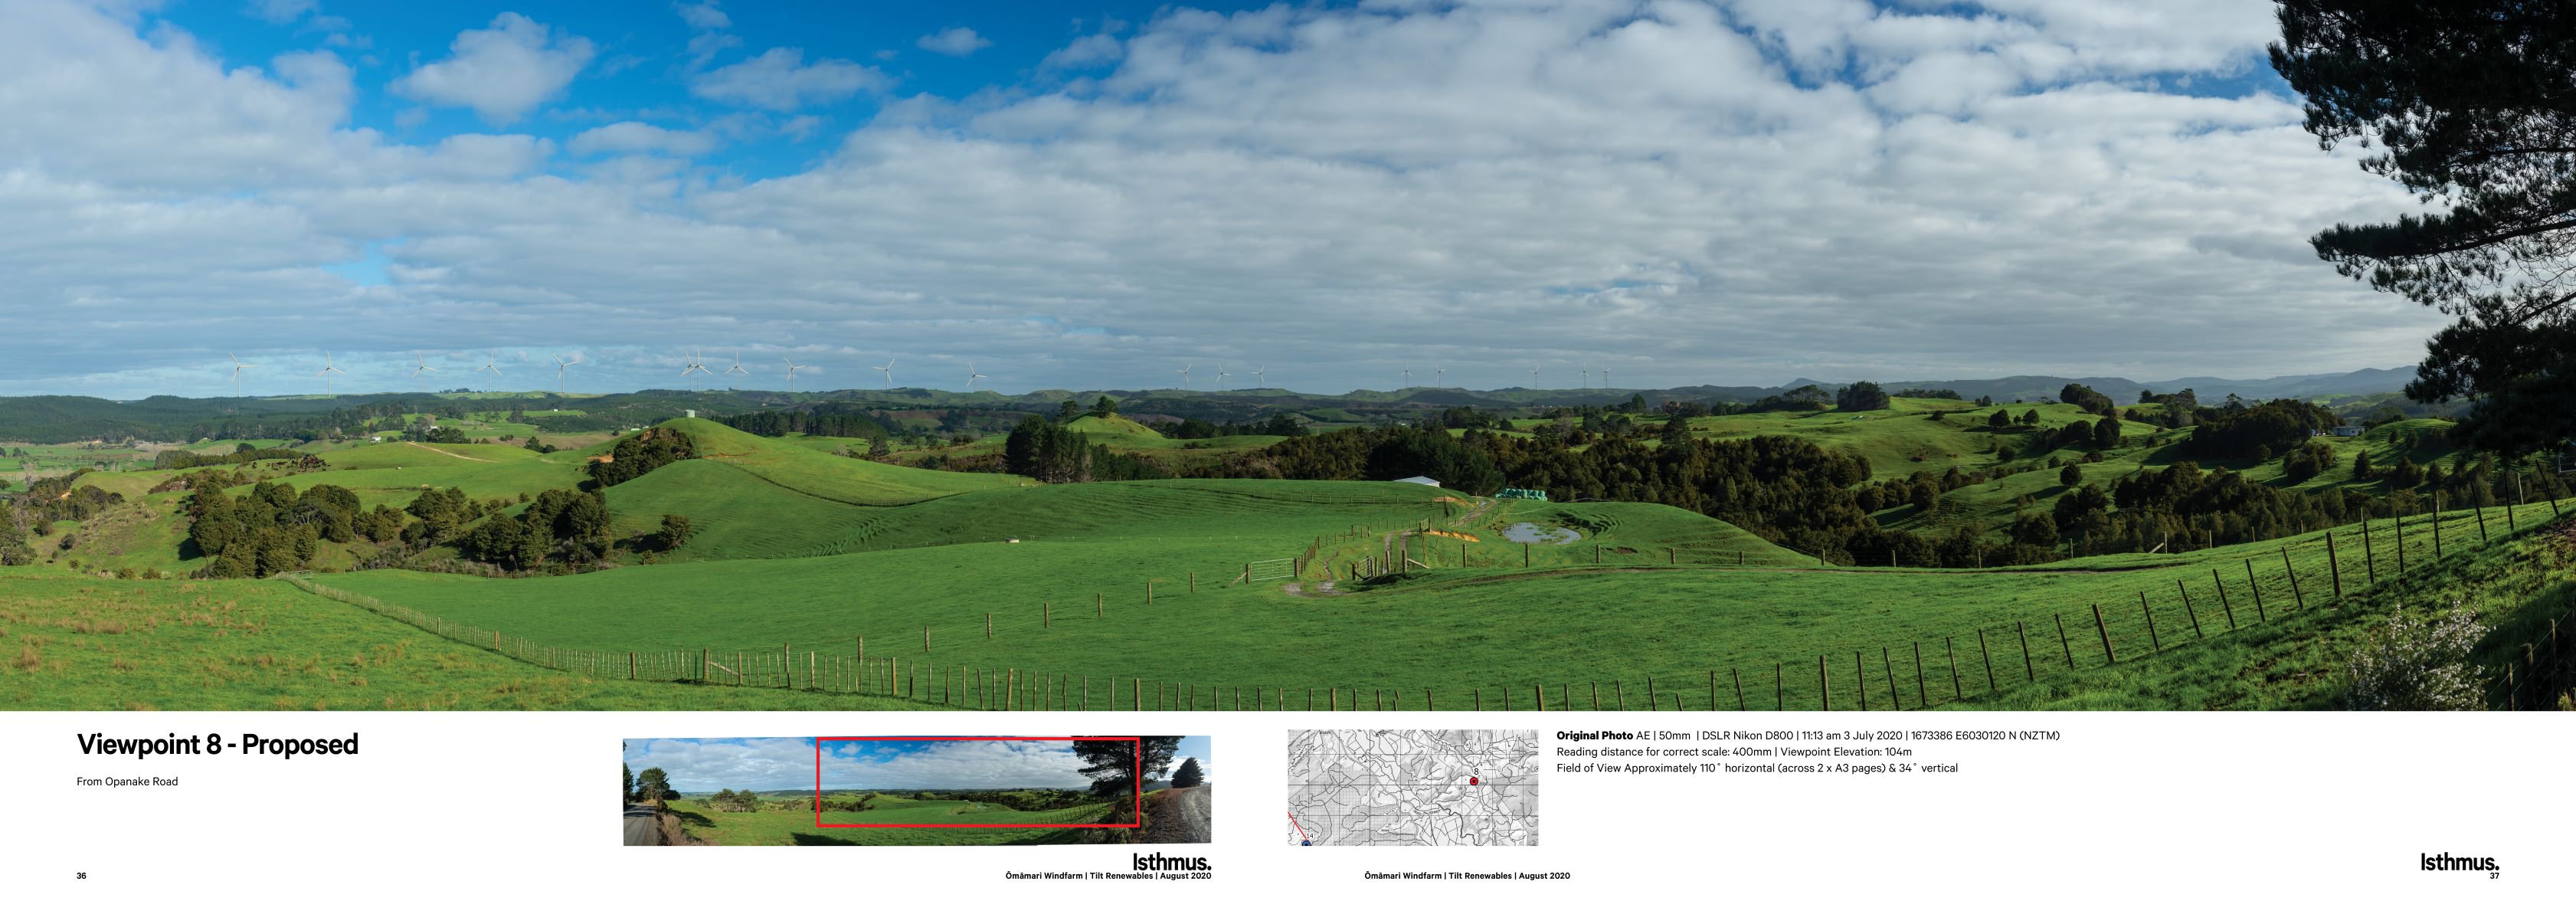
View from Opanake Road - existing

View from Opanake Road - proposed